The C.N.R. Project
The
C.N.R. Project
How to build a Four-Lamina composite CNR
Created on 05-20-01 - JLN Labs
- Last update 09-17-03
All informations in this
page are published free and are intended for private/educational
purposes and not for commercial applications
Use untwisted carbon fiber, you need only about 200 mm of carbon fiber ( 6000 Filaments (6k) or more ).
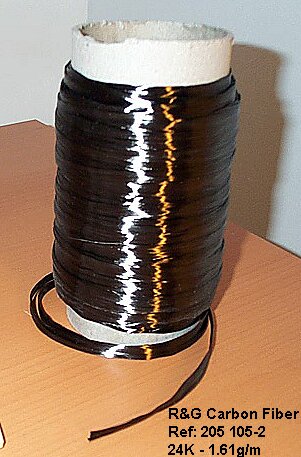
I have used Carbon fiber from R&G Faserverbundwerkstoffe ( Ref : 205-105-2 )
or T300 6K from Torayca ( see below )
Torayca from Toray Carbon
Fiber America, Inc
Carbon fibers from Torayca
( Products Datasheets )
Fibre Glast ( Carbon fiber
)
R&G
Faserverbundwerkstoffe ( see Ref
: 205-105-2 )
Grafil Inc, Carbon fibers spec sheets

Step 1 : Cut four strips of carbon fiber ( 80 mm length ) and cut two squares of plastic sheet ( 30x30 mm ).

Step 2 : Place carefully the carbon fiber filaments in ONE
LAYER
and fix them with an adhesive tape as shown in the photo above.

Step 3
: Place carefully the
strips in a cross shape on one of the piece of plastic.
Put epoxy cement ( two components ) on the other piece of
plastic.
Don't
put cement in the junctions areas.
Cover the carbon fiber strip with this piece of plastic ( at its
center ).
I have used a common two-components epoxy cement for gluing the carbon fiber ( see below )


Step 4: Put this apparatus in the grip of a vice, and tight it very strongly. Wait for a while...

Step 5 : Cut a epoxy board for the mounting support and place the CNR as shown in the photo above.

Step 6 : Mount the CNR apparatus with copper connectors.
Step 7 : Your CNR is now ready for testing...
You will be able to replicate yourself the Chung's Apparent Negative Resistance experiment, with two simple digital multimeters ( one used in Ammeter and the other as Voltmeter ) and a DC power supply ( set as a current generator ).
Good Testing.
See also : CNR v6.0 tests : A four-lamina carbon fiber composite
For
more informations, please contact : ![]() JNaudin509@aol.com
JNaudin509@aol.com
Return to the CNR home page